






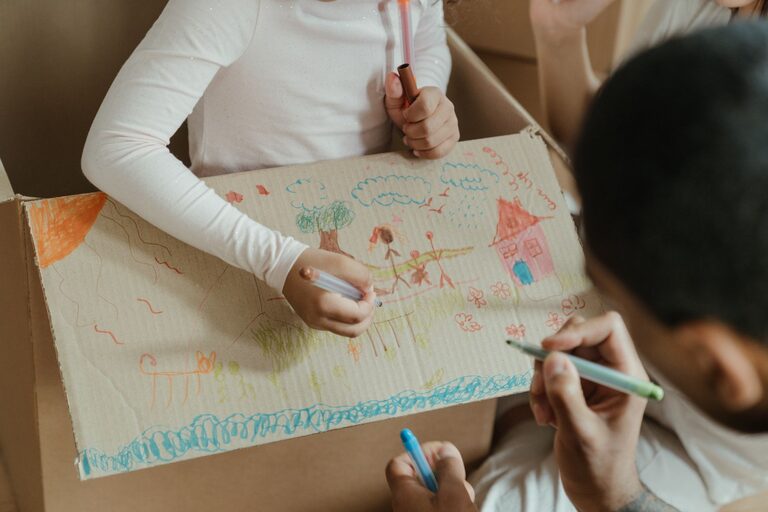
Children’s artwork is a wonderful expression of creativity and imagination. From colorful drawings to crafty creations, these pieces deserve to be appreciated and preserved. However, over time, the collection of artwork can become overwhelming and lead to clutter. If you’re looking for practical ways to keep kids’ art organized without losing the sentimental value, this guide is for you. Here are tips to help you manage, store, and display your child’s masterpieces in a way that adds joy and order to your home.
Why Organize Kids’ Art?
Organizing kids’ artwork offers many benefits:
– Preserves memories: Keeps special moments and growth stages visible.
– Reduces clutter: Prevents piles of papers and crafts from taking over space.
– Encourages creativity: A designated art area motivates kids to create more.
– Simplifies sharing: Makes it easier to show off accomplishments to family and friends.
Creating an Art Organization System
1. Designate a Storage Space
Start by choosing a specific spot for storing art supplies and finished pieces. This could be a drawer, a box, or a shelf in a playroom or family room. Having a home base helps both kids and parents keep things neat.
2. Use Clear Containers and Folders
Transparent storage bins or folders allow you to see what’s inside without opening every container. Label each container by year, child’s name, or art type (drawings, paintings, crafts) to stay organized.
3. Sort Regularly
Make it a habit to sort through artwork every month or so. Decide which pieces to keep, display, or recycle. This prevents buildup and lets you focus on the most meaningful items.
Displaying Kids’ Art Creatively
1. Create a Rotating Gallery
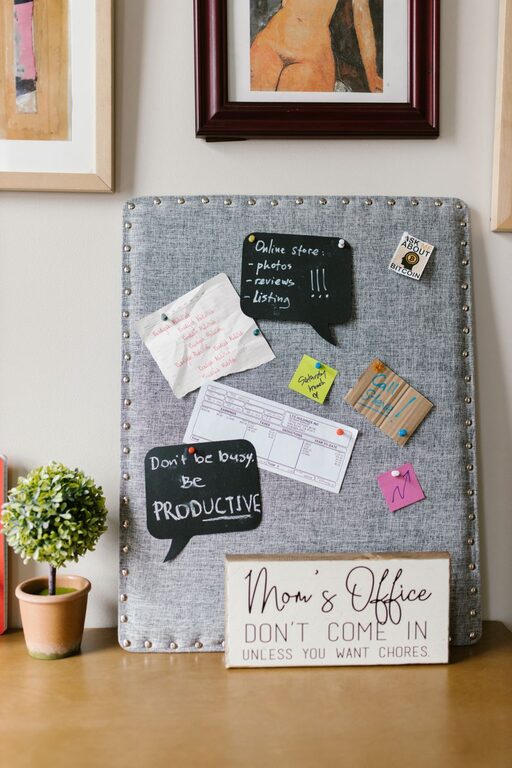
Choose a wall, corkboard, or string with clips to showcase current favorites. Rotate the artwork regularly to keep the display fresh and exciting. This way, your child’s creativity is celebrated without overwhelming your walls.
2. Frame the Best Pieces
Select a few standout works and frame them for a more polished look. Frames can be switched out as new favorites emerge, turning your home into a mini art gallery.
3. Use Digital Displays
For a tech-friendly approach, scan or photograph the artwork and display it on a digital photo frame. This saves physical space and allows you to enjoy a slideshow of your child’s art anytime.
Preserving Art Digitally
1. Photograph or Scan Artwork
Capture high-quality images of your child’s work. This is especially useful for bulky or 3D crafts that are hard to store.
2. Create Digital Albums
Organize the photos into folders on your computer or use cloud storage. You can also create photo books to print at the end of each year as a keepsake.
3. Use Art Apps
Several apps are designed to archive kids’ art digitally, offering features like tagging, sharing, and creating slideshows.
Practical Tips for Parents
– Set Limits: Agree on a reasonable amount of artwork to keep. For example, one portfolio per year or a specific bin size.
– Involve Your Child: Let them help choose which pieces to keep and display. This encourages decision-making and values their input.
– Reuse and Repurpose: Use artwork for gift wrapping, greeting cards, or craft projects.
– Celebrate the Process: Remember that the creative experience is just as important as the final product. It’s okay to let go of some pieces.
Organizing Supplies
Keeping your art supplies organized also supports a tidy art space.
– Use labeled jars or containers for markers, crayons, and brushes.
– Store paper and craft materials in a filing system or bins.
– Keep cleaning wipes and aprons nearby to simplify cleanup.
Conclusion
Organizing kids’ artwork doesn’t have to be overwhelming. With a few simple strategies, you can celebrate your child’s creativity, preserve precious memories, and maintain a clutter-free home. Remember, the key is to create an easy-to-manage system that works for your family and involves your child in the process. Happy organizing and creating!